Alan Pope
on 12 December 2018
As part of a personal drive to be less dependent on 3rd party Internet services, I’ve moved some things in house, under my own control. This includes self-hosting important shared files, photos and media at home. Which can pose a problem if I’m away from home and want to access those files.
Previously, I would setup SSH with port forwarding to a machine on my home LAN to establish a single, secure connection, which is great for connecting from my laptop. However, doing that is somewhat manual and not user-friendly. I also wanted a solution that would work easily on my mobile devices, and those of the rest of my family.
Procure Private Pi
After a little research, I discovered easy-openvpn in the Snap Store, a simple Virtual Private Network (VPN) solution that can run on a low-end machine such as a Raspberry Pi. Since I had a Pi in a case doing nothing, I figured this would be a great way to put it to good use.
The Pi would be exposed to the Internet. I don’t want to have to do too much in the way of management. To that end, I chose to install Ubuntu Core which automatically installs updates, so requires minimal maintenance. Core is built to be secure and always up to date.
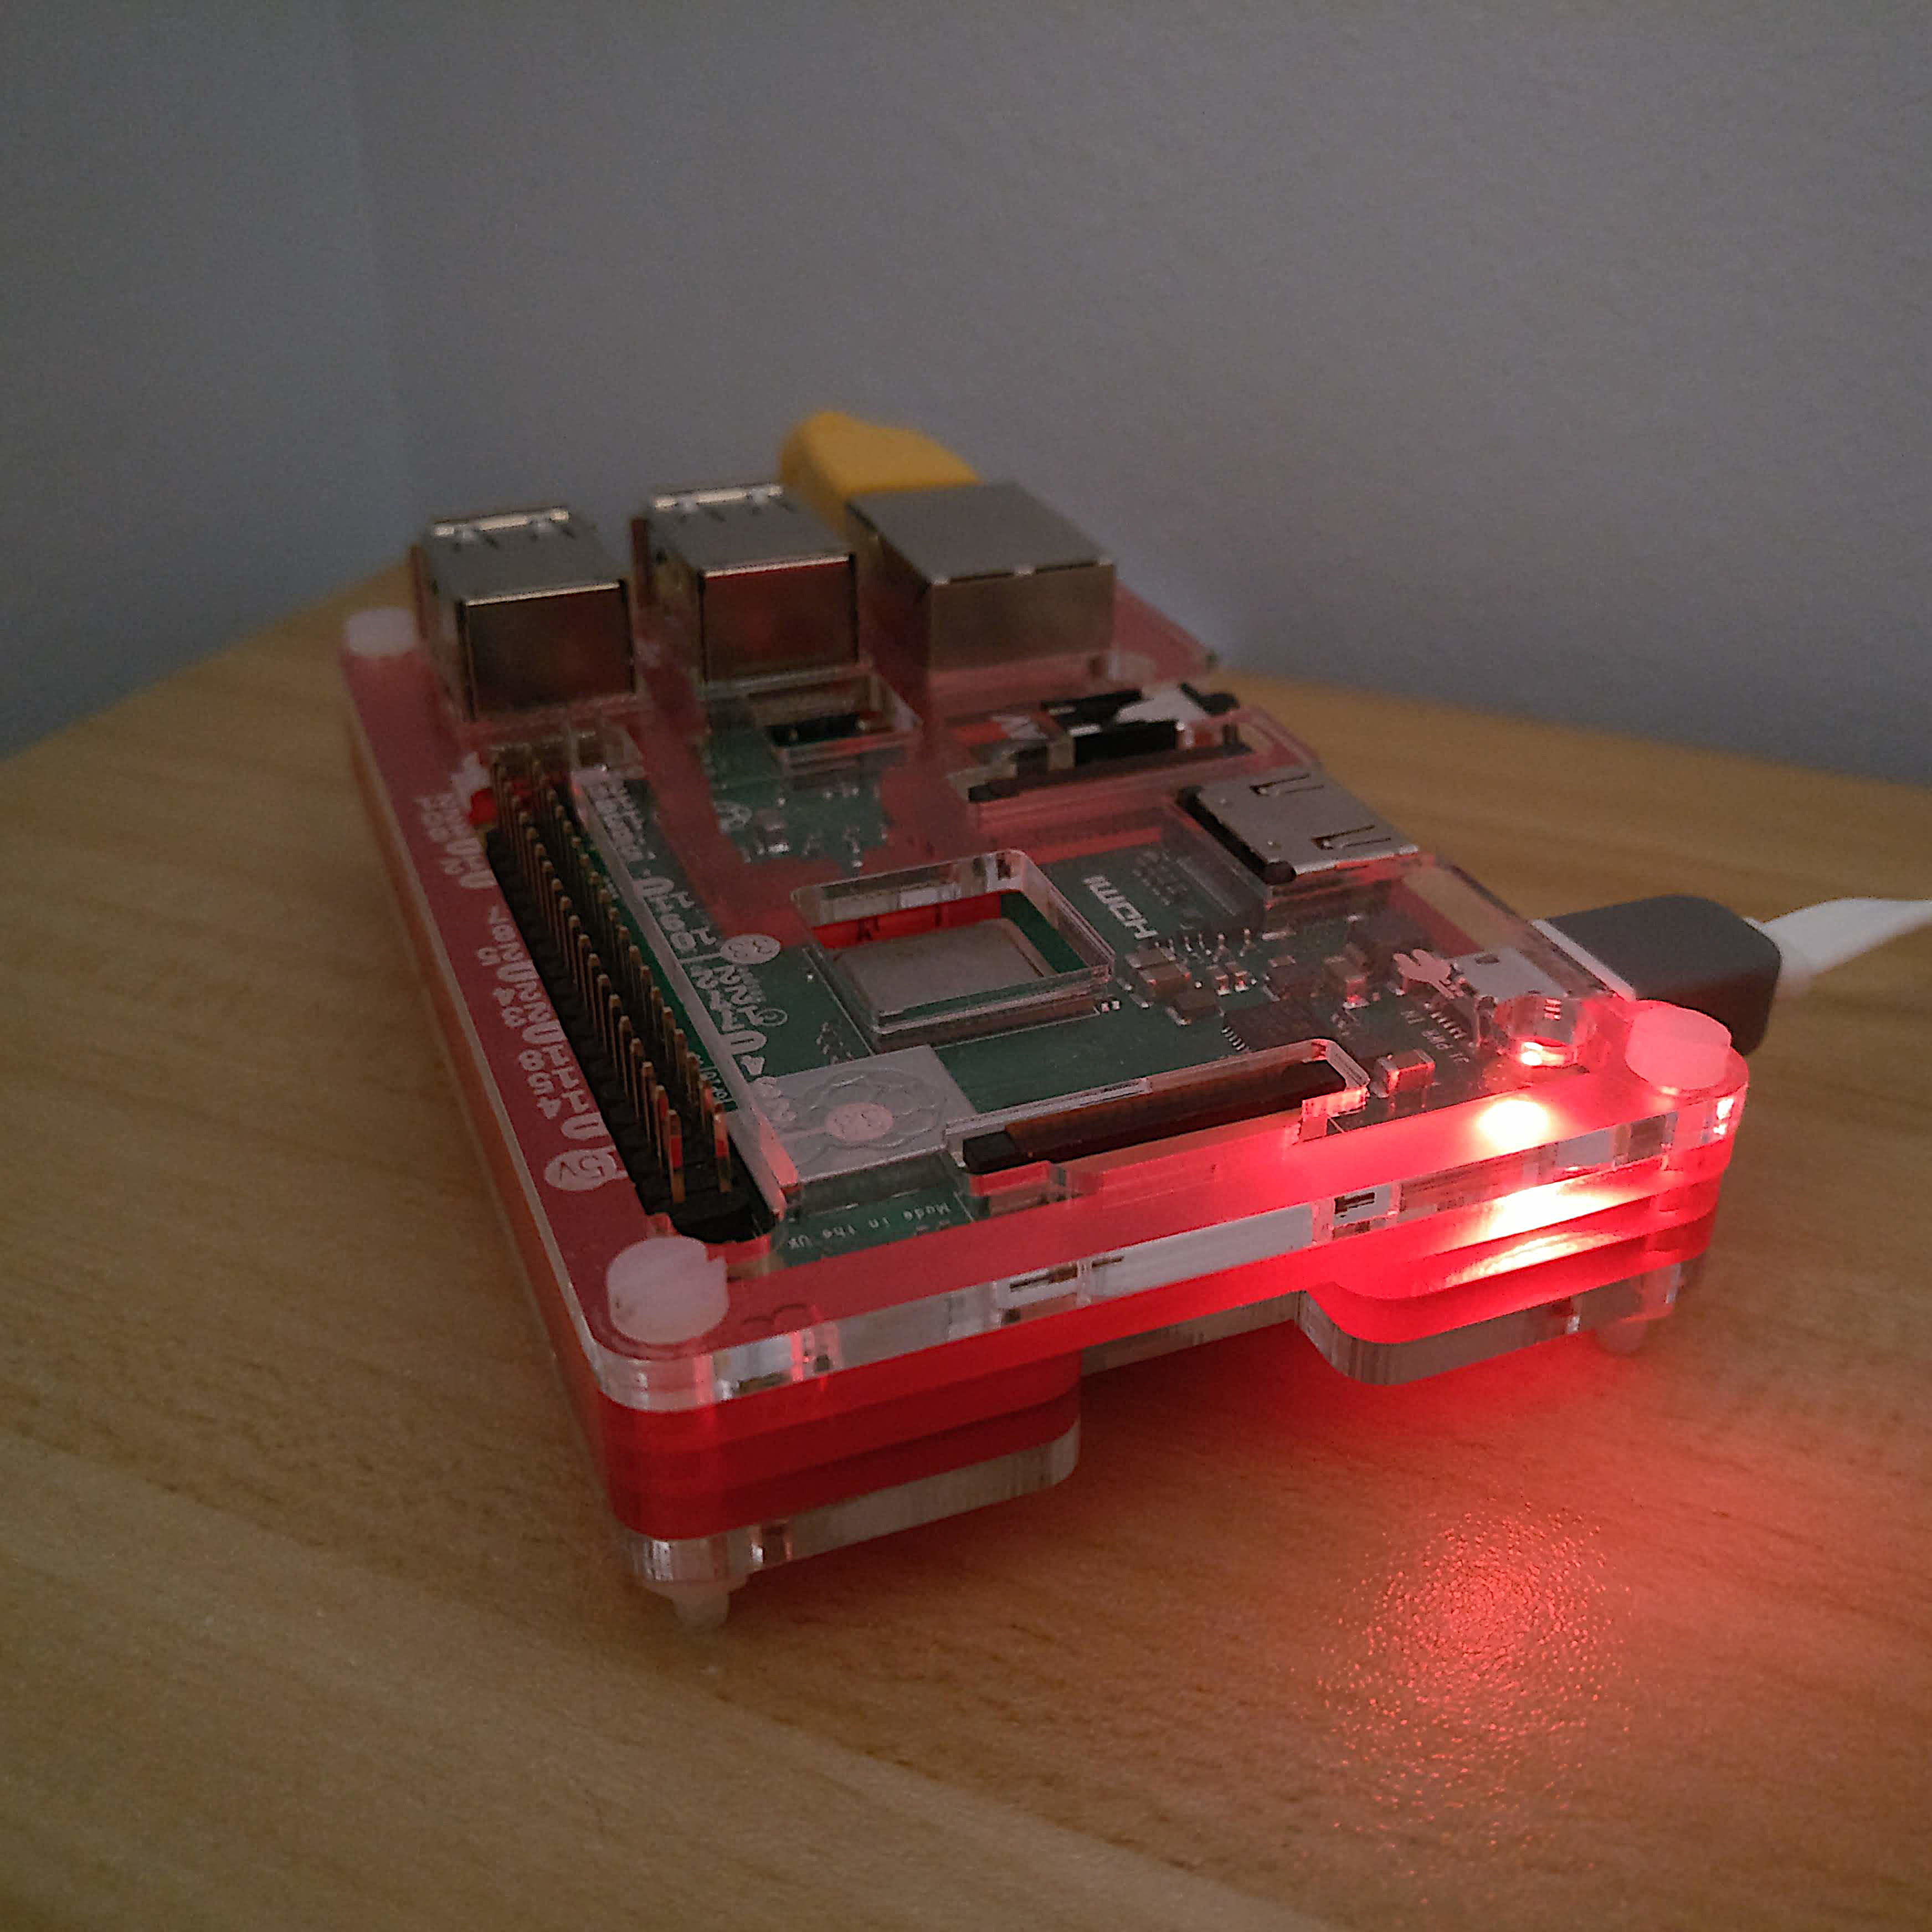
I grabbed a USB keyboard, HDMI display and network cable, and followed the instructions to get the Pi setup. This first meant having an Ubuntu SSO account, which is later used to setup access to the device via SSH.
Once Ubuntu Core was installed, I put the Pi in a dark, quiet corner of the house, and continued the rest of the setup over SSH from my laptop.
Swift Setup Server
I’ve covered this in more detail over in a GitHub Gist, but most of it was simply copying and pasting a few commands.
Configuring the VPN was pretty straightforward, once I understood the main steps. At a high level I had to:
- Enable IPV4 forwarding – to enable network traffic between interfaces
- Install Easy OpenVPN
- Discover my public IP address
- Configure Easy OpenVPN
- Create a configuration setup for OpenVPN
- Generate cryptographic keys to encrypt communication
- Enter a PEM pass phrase and make a note of it
- Enter a ‘Common Name’ – a plain text name given to the VPN
The process of creating the keys can take quite a while. For me, it took about half an hour on a Raspberry Pi 2. This is only required once though. Once configured, the VPN server can be started.
- Start the Easy OpenVPN server
sudo service snap.easy-openvpn.easyopenvpn start
The next step step is necessary because, by default, the easy-openvpn snap is strictly confined to prevent the application having access to resources it doesn’t need. This prevents us being able to write a configuration file out to the home directory.
- Connect the snap to the ‘home’ interface
snap connect easy-openvpn:home :home
A configuration file is needed on all client devices connecting to OpenVPN server. As a test, I exported a configuration file for my laptop. In addition, I could also export one config file for my phone and one for each device used by a family member. In the event of any device loss, I can revoke the client access certificate to prevent malicious access.
- Export the client config
sudo easy-openvpn.add-client popey_laptop > popey_laptop_vpn_config.ovpn
This will create a file in the home directory called popey_laptop_vpn_config.ovpn.
The snap no longer needs access to `home’ interface.
- Disconnect the `home` interface
snap disconnect easy-openvpn:home
Copy Configuration Carefully
The ‘.ovpn’ file created above will enable access to the VPN from other devices. As such it should be handled carefully, and not leaked to other systems. I heard some will use a USB stick to transfer the configuration file and then destroy the stick, in case it’s lost and a rogue 3rd party gains access to the credentials.
I didn’t go that far, but while at home, I simply copied the file over the LAN directly to my laptop. Alternatively within the SSH session to the Pi one could ‘cat’ the credentials file and then paste the output to a file on the destination laptop.
Configuring Client Connections
On my laptop I use Ubuntu 18.04, which doesn’t ship with OpenVPN support out of the box, so I had to install it with sudo apt install network-manager-openvpn-gnome and then restart Network Manager with sudo systemctl restart NetworkManager.
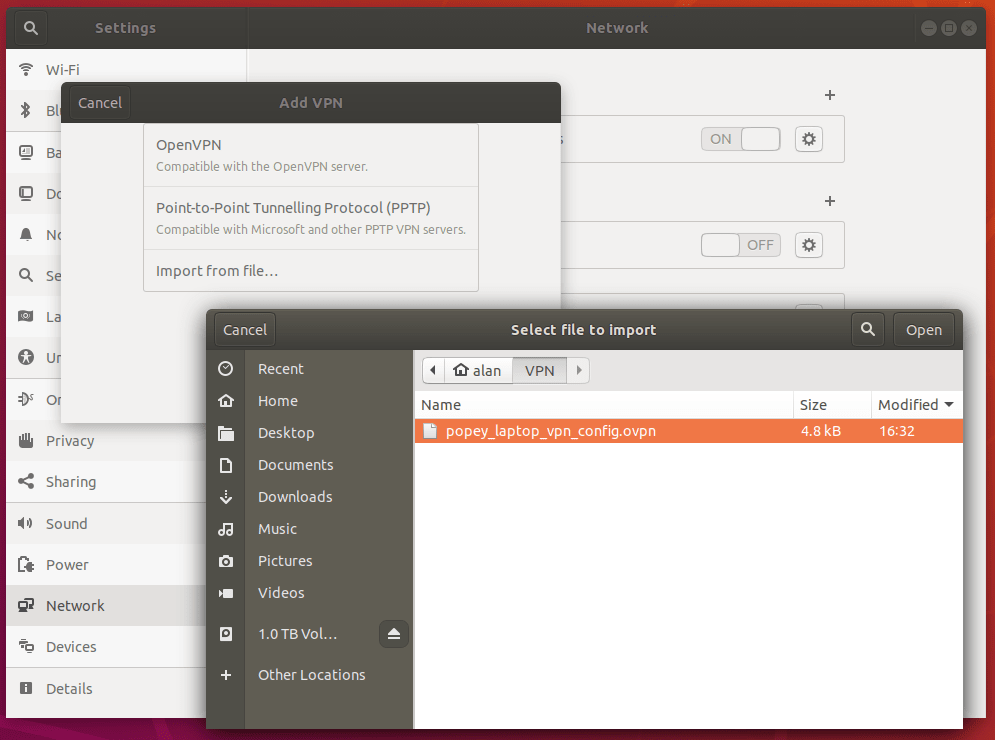
Next, import the client config into Network Manager via settings, go to network, VPN, “+”, “Import from file” and select the saved `.ovpn` file copied from the Pi.
Most platforms support OpenVPN in some way, either natively or via a 3rd party application. On Android, OpenVPN Connect is a great official option. On macOS, Tunnelblick is a free OpenVPN compatible client.
Start Sending Securely
Now I’m all set up! When away from home I can quickly connect to my home VPN from the network menu.

I have also setup my Android phone so I can connect from there, too.

Once connected, I have access to resources that exist on the home LAN. The VPN supports multiple users, so the whole family can use the connection at the same time. From the Raspberry Pi I can run sudo easy-openvpn.clients to see who is connected.
name,begin,end,status

popey,Oct  9 10:28:55 2018 GMT,Oct  6 10:28:55 2028 GMT,VALID
Up-to-date Ubuntu
I’m really happy with how straightforward this was to configure. Using Ubuntu Core means I can tuck the Pi in a corner and not really have to think about it. Knowing that the entire software stack will automatically update when new releases come out is one less thing to manage.
While I do like that this Pi sits in a quiet corner getting dusty, I also quite enjoy status displays and reporting. It might be fun to have an array of LEDs indicating who is connected to the VPN, with colours showing (individual) connection status. In the future, I might look at extracting log data from the VPN to query connection duration and possible failures.
I’m keen to hear feedback on my home VPN setup, and for suggestions on how it might be improved. Join the discussion over on the snapcraft forums, or leave a comment on the GitHub Gist.