

Hugo Huang
on 28 September 2022
Launch Ubuntu 22.04 Desktop on Google Cloud
Ubuntu 22.04 Jammy Jellyfish was published in April this year. Ubuntu users are excited about its advanced desktop features, such as support for Wayland and GNOME 42 (I will use SliM this time since I won’t play any game in this demo). But recently, some Ubuntu users say that they can’t launch the Jammy Jellyfish desktop in Google Cloud by following my previous blog: Launch Ubuntu Desktop on Google Cloud. That’s too bad because Google Cloud gives Ubuntu users such a seamless experience through Chrome. Don’t worry, you can continue using Chrome access to your Ubuntu Desktop on Google Cloud. Just follow this article.

We need four steps to set up a Ubuntu virtual machine with a graphic interface, just like your desktop environment on your own computer:
- Create a Ubuntu VM instance on Google Cloud.
- Install and configure the Chrome Remote Desktop service on the VM instance.
- Set up a Ubuntu desktop environment in the VM instance
- Connect from your Chrome web browser to the desktop environment on the VM instance.
Before you begin:
- Make sure that you selected a Google Cloud project for running this VM instance.
- If you don’t have the Google Chrome browser installed, you can install it from the Google Chrome homepage.
Create a Ubuntu VM instance
In this step, we will launch a VM instance in Google Cloud. The default e2-medium (2 vCPU, 4 GB memory) machine type works fine for a tutorial purpose. If you want a more performant machine, there are a variety of choices in Google Cloud.
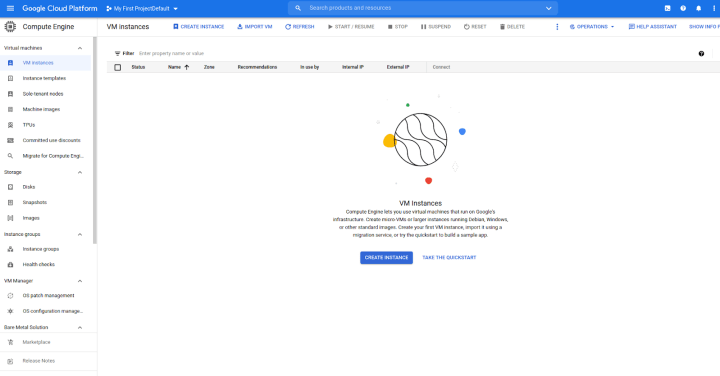
1. In the Google Cloud Console, go to the VM Instances page:
2. Click CREATE INSTANCE.
3. Set the instance name to a unique name you like. If you don’t have any instance in your project, Google Cloud will assign you a default name “instance-1”, which I am fine with this time.
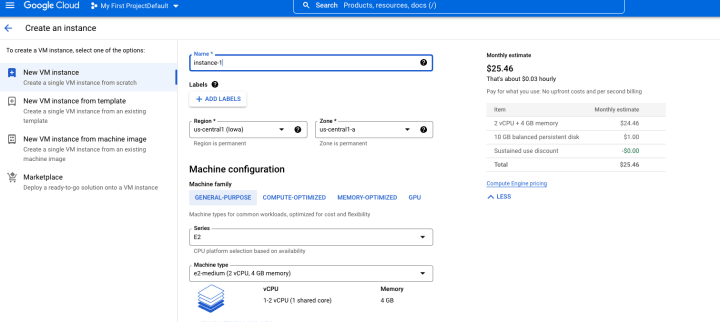
4. Select a region and zone you want to run your instance.
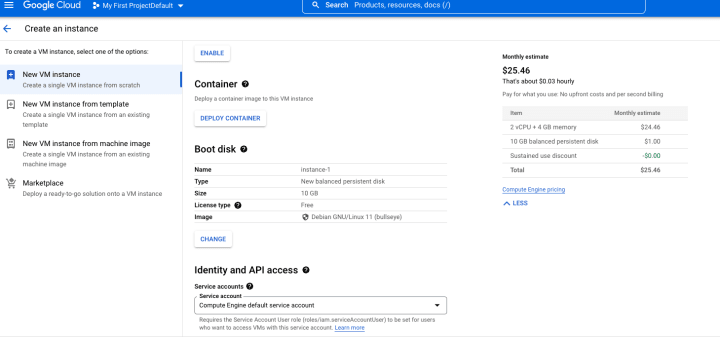
5. Scroll down to the Boot disk options and click Change
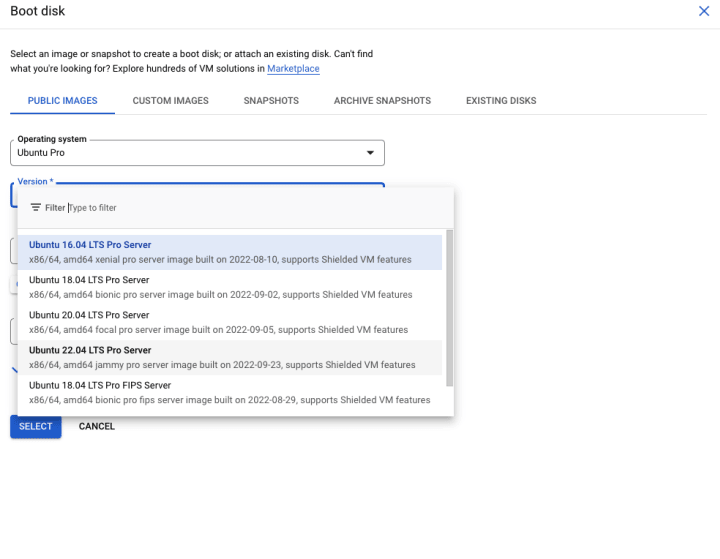
6. In the Boot disk pop-up window, in Operating System, select Ubuntu Pro from the drop-down; in Version, select Ubuntu 22.04 LTS Pro Server; keep the rest options as default value and click SELECT. Ubuntu Pro ensures the latest security update, which will be useful when we install production applications.
7. Click CREATE to create the instance.
8. In less than one minute, you will be able to see your Ubuntu instance in RUNNING status. You can click the SSH button in the instance list to connect to your new instance.

If you prefer to start a VM through Google Cloud Shell, you can use this command to achieve the same result:
gcloud compute instances create instance-1 --zone=us-central1-a --machine-type=e2-medium --image=projects/ubuntu-os-pro-cloud/global/images/ubuntu-pro-2204-jammy-v20220923Install Chrome Remote Desktop on the VM instance
The next step is to install Chrome Remote Desktop on the VM instance. Download and install the Debian Linux Chrome Remote Desktop installation package:
wget https://dl.google.com/linux/direct/chrome-remote-desktop_current_amd64.deb
sudo apt-get install --assume-yes ./chrome-remote-desktop_current_amd64.deb
Set up a Ubuntu desktop environment in the VM instance
Now we need to install a desktop environment and window manager for Chrome Remote Desktop to communicate with the VM instance.
1. In the SSH window connected to your VM instance, refresh the repository and package lists, and perform the necessary upgrades with the following command:
sudo apt update && sudo apt upgrade2. Install and set up Display Manager. Here I use SLiM for its lightweight feature.
sudo apt install slim3. Install Ubuntu desktop environment (the installation process may need around 20 minutes):
sudo apt install ubuntu-desktop4. Once finishes installation, reboot the machine:
sudo reboot5. You will lose connection when you reboot. SSH into the virtual machine again and start SLiM:
sudo service slim startConfigure the Chrome Remote Desktop service and Connect to your Ubuntu Desktop
To start the remote desktop connection, you need to have an authorization key for your Google account.
1. On your local computer, using the Chrome browser, go to the Chrome Remote Desktop command line setup page:
https://remotedesktop.google.com/headless
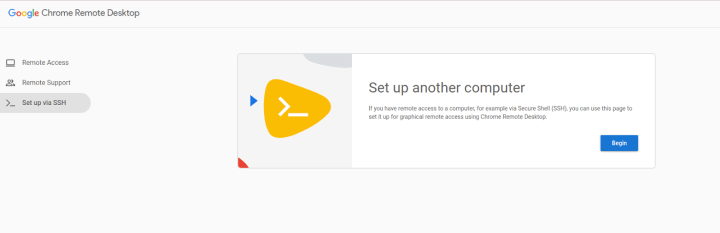
2. On the Set up another computer page, click Begin.
3. Click Next. You already installed the Chrome Remote Desktop on the remote computer in STEP2.

4. Click Authorize.

5. Now you get the command to set up and start the Chrome Remote Desktop service on your VM instance. Copy the command for Debian Linux.
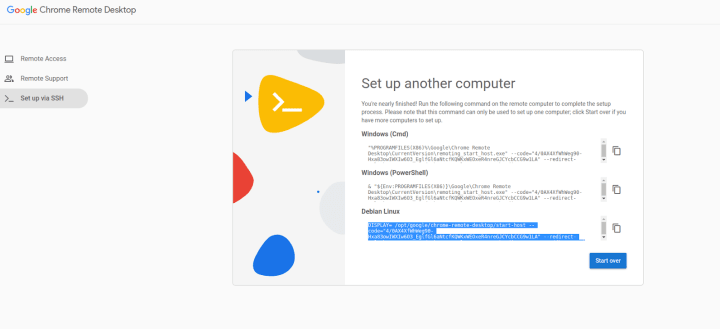
6. Paste the command to the SSH window that connects to your VM instance. Run the command.
7. Enter a 6-digit PIN when prompted. This PIN will be used when you log into the VM instance from your Chrome.
8. On your local computer, go to the Chrome Remote Desktop web site. You will find your Ubuntu Desktop shows up in the portal.
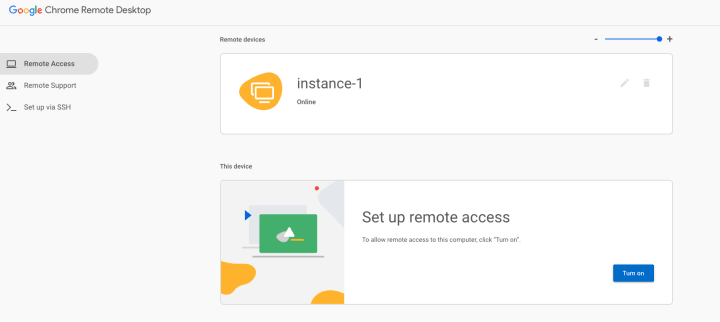
9. Click the remote desktop instance. In this case, it is “instance-1”. And you will be prompted to input the 6-digit PIN you set in step 7.

10. You will see this page, just cancel it.

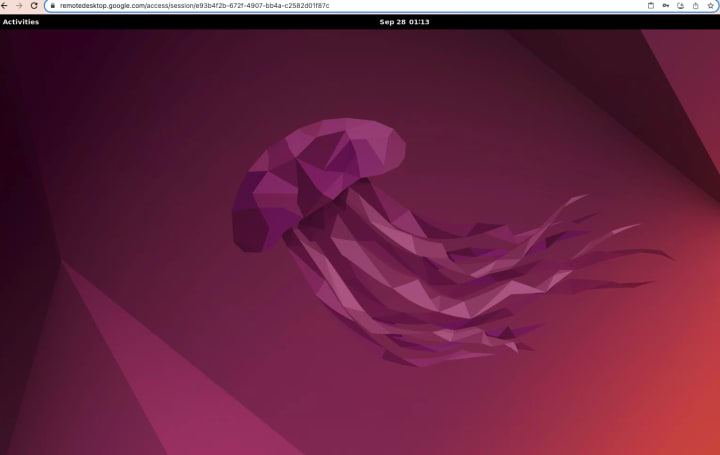
Now, Ubuntu desktop is fully functional in your Chrome web browser:
Install an app on your Ubuntu Desktop
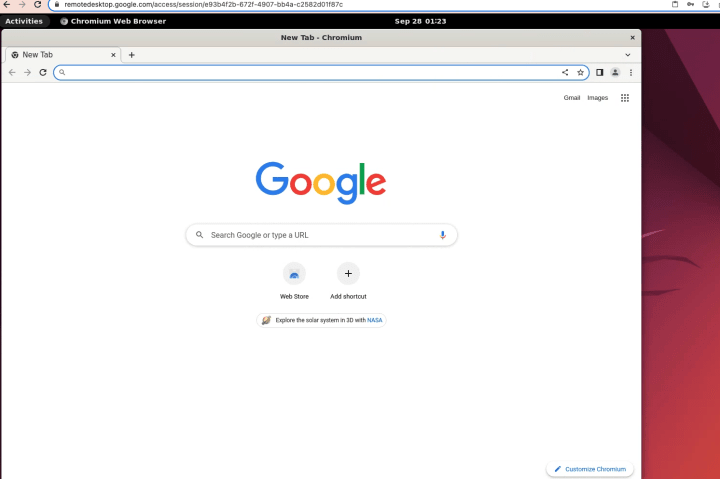
Let’s install the Chromium web browser, the open-source version of Chrome, from the Snap Store. In your terminal, run:
sudo snap install chromium
You can use Chromium “inside” Chrome in less than a minute:
Clean up
To avoid incurring charges to your Google Cloud account for the resources used by this tutorial, you may delete the VM instance.
In the Cloud Console, DELETE this VM instance:

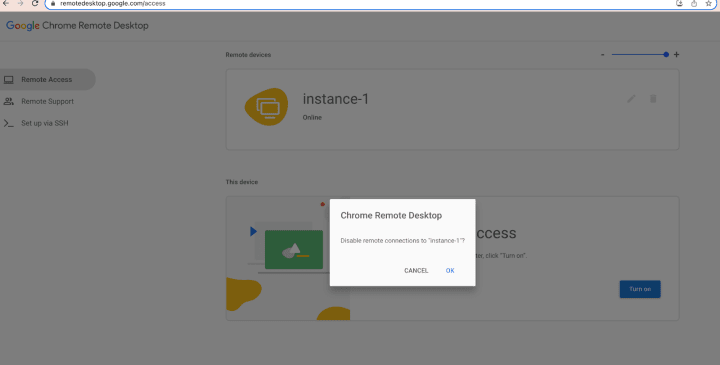
Then on your Google Chrome Remote Desktop, DELETE the “Remote device” (“instance-1” in my case) from your Remote Devices list.
That’s it. Enjoy your Ubuntu 22.04 Jammy Jellyfish Desktop anywhere anytime!


